WordPress is used on a big portion of web sites on the net. It permits us to create a wide range of various kinds of websites, however one of the crucial vital elements of any web site is at all times the house web page. The right touchdown web page will show you how to to scale back bounce charges, boosting visitors and prospects. On this article, we’ll cowl how we are able to create a customized residence web page (or touchdown web page) of a WordPress web site.
There are numerous methods to attain this aim, that is simply a method.
First, we’ll full these primary steps:
Then, we’ll take a look at the next superior matters:
For the sake of modularity, I’ve created a folder named library and put all of the operate recordsdata inside it in order that it turns into straightforward to edit solely the part that’s vital. Be at liberty to fork my theme at GitHub. On this theme, I’ve known as all of the recordsdata contained in the library folder from the capabilities.php file. I’ve used Basis CSS Framework for this theme.
You’ll discover a file named theme-options.php contained in the library folder which we might be enhancing essentially the most on this tutorial. Open that file in your favourite textual content editor and get ready to get your palms soiled!
Kirki will not be a framework. It’s a toolkit permitting WordPress builders to make use of the Customizer and benefit from its superior options and adaptability by abstracting the code and making it simpler for everybody to create a fantastic and significant person expertise.
We are able to use Kirki so as to add configurations, fields, sections and panels to the customizer. This doesn’t change the WordPress Customizer API. Kirki’s API is solely a wrapper for the default WordPress strategies, simplifying the syntax and permitting you to jot down extra with much less code and profiting from a few of its most superior options.
Obtain Kirki recordsdata from GitHub and put it in a folder named ‘kirki’ within your theme folder.
First, you’ll must create a brand new configuration. Configurations have a singular ID and all fields that use the identical config_id will inherit the properties of that configuration.
When you add your configuration you’ll be able to then add panels, sections and fields. Please word that it’s best to have at the very least one part in your customizer so as to have the ability to add fields. Fields can’t be ‘orphan’, they must be grouped in a piece.
Kirki lets you create configurations to your plugins or themes and group them by an ID. All fields which can be then linked to that ID will inherit the configuration properties.
Panels are wrappers for sections, a strategy to group a number of sections collectively.
Sections are wrappers for fields, a strategy to group a number of fields collectively. All fields should belong to a piece, no area may be an orphan.
Fields are the choices equivalent to textual content field and examine field which can be offered in order that the customers can enter customized textual content inside it. Every area should be related to a selected part solely.
Sufficient of the introduction. Now let’s customise our theme!
The very first thing we’ll have to do is to combine Kirki with our theme. To take action, open your theme-options.php file which you’ll discover within the library folder and add the next code to it:
The above code hyperlinks the Kirki recordsdata with our theme. Please word that as talked about earlier, the recordsdata that we downloaded from the GitHub supply ought to be positioned in a folder named ‘kirki’ contained in the theme folder.
As said beforehand, we have to create a configuration which we are able to use with our choices. Add the next code to your theme-options.php file.
We’ve efficiently created a configuration for our theme. Now, we might be utilizing mc as our option_name in our choices.
Let’s now take a look at the design of our touchdown web page. Our residence web page will include the next:
We’ll be overlaying the best way to do these factors one-by-one for our residence web page.
All choices might be customizable via the WordPress Customizer possibility. You have to to go to Look > Customise possibility inside your WordPress Admin panel to customise these choices.
We wouldn’t wish to change our index.php file since we are able to create a customized template for our entrance web page. On this customized template, we’ll add our code in order that it exhibits our custom-made entrance web page. So, we’ll create a customized template which can present the contents within the entrance web page.
Create a brand new file inside your theme folder known as homepage.php and add the next:
Inside this file, we add the code to indicate the slider.
Now we have to set this to our static entrance web page. However, initially there isn’t a web page that might be utilizing this template. We should create a brand new web page which can use this template. Observe the next steps:

Now, set the Static Entrance Web page possibility contained in the WordPress Customizer to A static web page and choose My Customized Homepage (or in case you’ve used some other title for the web page, choose that one) from the dropdown beneath it.
Don’t neglect to click on on the Save & Publish button of the Customizer.
You gained’t discover any seen adjustments contained in the Customizer but, since we haven’t added any code to our homepage.php file. Open homepage.php and let’s begin including code to it!
Let’s add the next code:
The above code contains our header.php and footer.php recordsdata from our present theme listing. When you refresh your Customizer now, you’ll most likely see solely the navigation and the footer menus.
A Product Slider exhibits your most artistic or your best-selling merchandise. These are the merchandise {that a} customer sees first in your web site. Making a Product Slider entails the next steps:
As talked about beforehand, we’re utilizing FlexSlider for displaying a slider in our theme. So, first, we might want to obtain Flexslider from GitHub. We are going to solely want to make use of the jquery.flexslider.js, flexslider.css, the bg_play_pause.png and the fonts folder. Copy these assets into your theme folder.
When you’re working together with the theme I offered, you’ll be able to copy jquery.flexslider.js contained in the vendor folder, current contained in the js folder, the flexslider.css file contained in the css folder, the bg_play_pause.png file contained in the photos folder and the contents of the fonts folder (from the GitHub supply of Flexslider) contained in the fonts folder which is already contained in the theme folder.
Now, we might want to enqueue these recordsdata with our theme. We’ll add the next enqueue code to the enqueue-scripts.php file current contained in the library folder:
Subsequent, we enqueue the CSS file inside our enqueue-style.php, contained in the library folder utilizing the next code:
Congratulations! You have got efficiently enqueued the Flexslider recordsdata along with your theme. You possibly can examine whether or not the enqueue has been profitable by checking the supply of your web page. You possibly can examine the supply of your web page by proper clicking in your web page and clicking on view web page supply. Seek for flexslider and you’ll discover that the JS and CSS recordsdata has been efficiently enqueued.
When you’re not utilizing the theme which I offered, you could have to edit the next elements: /js/vendor/jquery.flexslider.js and /css/flexslider.css and change it with the trail to your JS and CSS recordsdata.
Initially, let’s create a Panel inside our WordPress Customizer which can present the photographs, hyperlinks and captions for our slider.
Open up theme-options.php once more and add the next code to it:
The above code provides a Product Slider panel to our Customizer nevertheless it won’t be seen since no sections have this panel and no fields include any sections associated to this panel. Complicated? Let’s proceed and it’ll turn into clearer.
Subsequent, we have to add a piece named Product Slider for Homepage. This may be completed by including the next code to the theme-options.php file:
The above code provides the Product Slider for Homepage part contained in the Product Slider panel.
Subsequent, we add a area for displaying photos. We are able to create an picture area utilizing the next code:
Now, if we refresh our Customizer, we’ll see the Product Slider panel has appeared.

By way of the picture area, we are able to add photos which might be proven within the slider. We are going to create 4 extra related fields in order that we are able to have at the very least 5 photos for the slider. The next code will add 4 extra picture fields:

We are able to add photos via these fields after which show them on the touchdown web page.
Now, we’ll be including code for the Product Slider. Add the next code subsequent to <?php get_header(); ?> inside a <?php tag:
These traces fetches the photographs for every slide that we had saved inside our Customizer. In our subsequent step, we’ll examine if any of those photos exists or not. If any of them exists, we’ll name our slider.
This line checks whether or not any picture inside any slide exists or not. If the picture(s) exist, then flexslider is named. Now, we’ll echo out the photographs for every slide utilizing the code beneath:
Subsequent, we simply have so as to add the JavaScript for the Flexslider to work.
We are able to additionally add a caption to our slides. We simply have so as to add a brand new area in our customizer that may settle for the caption (textual content) for every slide and echo it out.
Let’s add the sphere first.
We are able to do an identical factor for 4 different slides.
Now, within the frontend, inside our Customized Homepage template, we have to edit our code somewhat to show these captions.
First, we have to retailer the captions within the variables:
Then, change the next code:
with the next code:
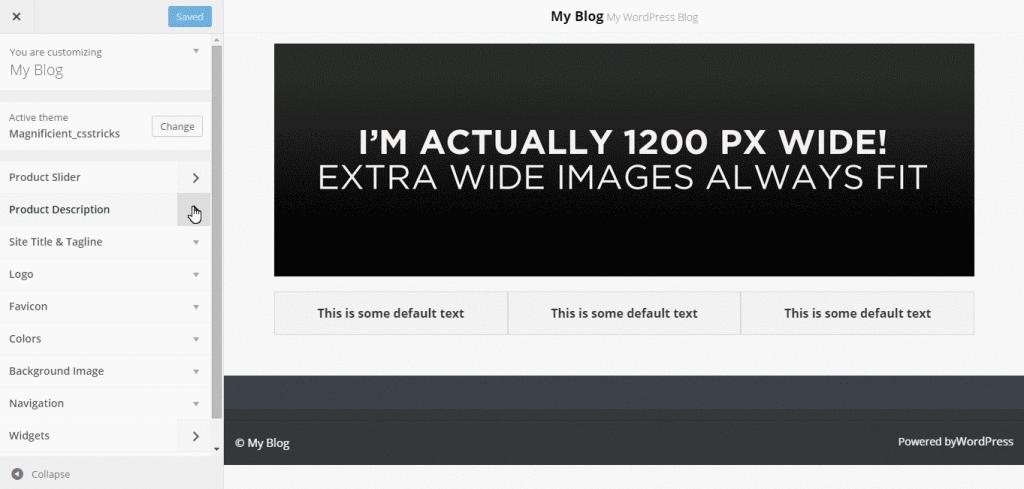
Description packing containers can present helpful descriptions about our merchandise. These packing containers are positioned slightly below the slider in order that it catches the eye of our guests. These packing containers are useful if you wish to present particulars about your merchandise. Sometimes, there may be three to 4 packing containers (or panels), however you’ll be able to have extra if you want.
On this tutorial, we’re creating three packing containers and are utilizing the data-equalizer property of Basis CSS Framework to offer uniform top for every panel.
Let’s get to work!
At first, we might be making a separate panel for displaying the outline packing containers. We are able to additionally present all of the choices underneath the identical panel (within the first panel we created), nevertheless it’s a very good behavior to maintain issues separate for later use.
We have to add the next code inside our theme-options.php file:
We are going to now create two sections for the Product Description. We’ll add the photographs on one part and add the outline in one other part.
First, create a piece for the photos utilizing the next code:
We then create a piece for the description:
Subsequent, we have to create three fields (since there might be three packing containers and therefore three photos) for picture enter and after that we’ll be creating three fields for the product descriptions. The code appears like the next:

Now we might want to show the output on our customized template by utilizing the next code.
This shows the output for the primary field. Equally, we’ll do the identical for the opposite two packing containers.
Now go to your Customizer and add the photographs and the outline and also you’ll see the web page displaying your enter!
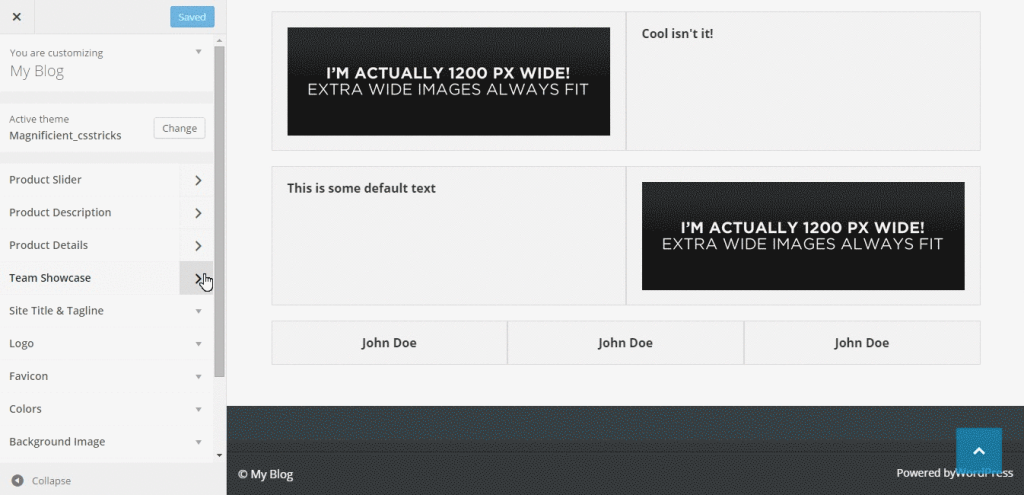
This half accommodates two rows the place there’s a picture on one aspect and an outline on the opposite aspect. This half or part of this web page can be utilized as a visible for a very powerful elements of the merchandise to the guests.
Let’s create a panel first. We’ll name it Product Particulars.
We’ll make a piece for the fields utilizing the code beneath:
Much like the beforehand coated ideas, we’ll create two picture fields and two textual content space fields utilizing the code beneath.
We have to present the output on the customized homepage template. Open up your homepage.php file and add the next code:
Simply do the identical for the opposite row too. Then, go to your Customizer and refresh it.

This part of the web page is used to offer some details about your workforce. This part ought to is helpful, as a result of it lets our guests get to know who they are going to be working with.
Sometimes, this part may include loads of workforce members. On this instance, we’ll be solely offering choices for 3 members, however you’ll be able to lengthen it as wanted.
We’ll create a brand new panel and name it Staff Showcase.
Subsequent, we’ll create a piece that has choices for the workforce showcase.
There might be a complete of six fields which include three picture fields for the avatars and three textual content fields for the names of the members.
We’ll now show the photographs and names of the three members of the workforce on our Customized Homepage template. Open up homepage.php and insert the next:
Let’s first retailer the values of the photographs and the textual content within the variables.
Then, we are able to present every member utilizing the code beneath:
We are able to additionally fetch the content material of one other web page into our residence web page. That is notably helpful if you wish to present some details about your organization and you have already got an About Us web page. You don’t want to jot down the identical content material over again. You possibly can simply fetch that content material utilizing Kirki.
We are able to create a separate panel for offering this feature, let’s do that!
Right here’s the code for the panel:
And right here’s the code for the part:
Subsequent, we’ll present a dropdown from the place the admin can select which web page to indicate on the entrance web page. We are able to use the dropdown-pages possibility of Kirki.
We are able to add the sphere utilizing the next:
This permits the choice contained in the WordPress Customizer. We are able to now edit our homepage.php file to indicate the content material. Open up that file and duplicate the next code the place you need this content material to be proven:
Making a sidebar to your theme is straightforward in case you observe the WordPress Codex. Relatively than go into an excessive amount of element right here, I’d simply add the sidebar to this theme by utilizing the next code contained in the library/widget-areas.php file.
Open up widget-areas.php and add the next:
The widget-areas.php file positioned contained in the library folder accommodates all of the widget areas for this theme, so I’ve added the sidebar code there.
Then, we simply must edit our homepage.php file to indicate this widget space on that web page. Open up your homepage.php and add the next code:
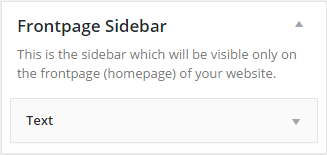
Now, whenever you add a widget on this sidebar, will probably be proven on the frontpage solely.
